
Crimson Bear Motel: Silver Pines' Most Important Location
The Crimson Bear Motel guide — the per-save gate code, Grizzly Suite, shooting gallery, pool, Gift Shop locker, Bungalo 3, the Rabbit Hole and every pickup.
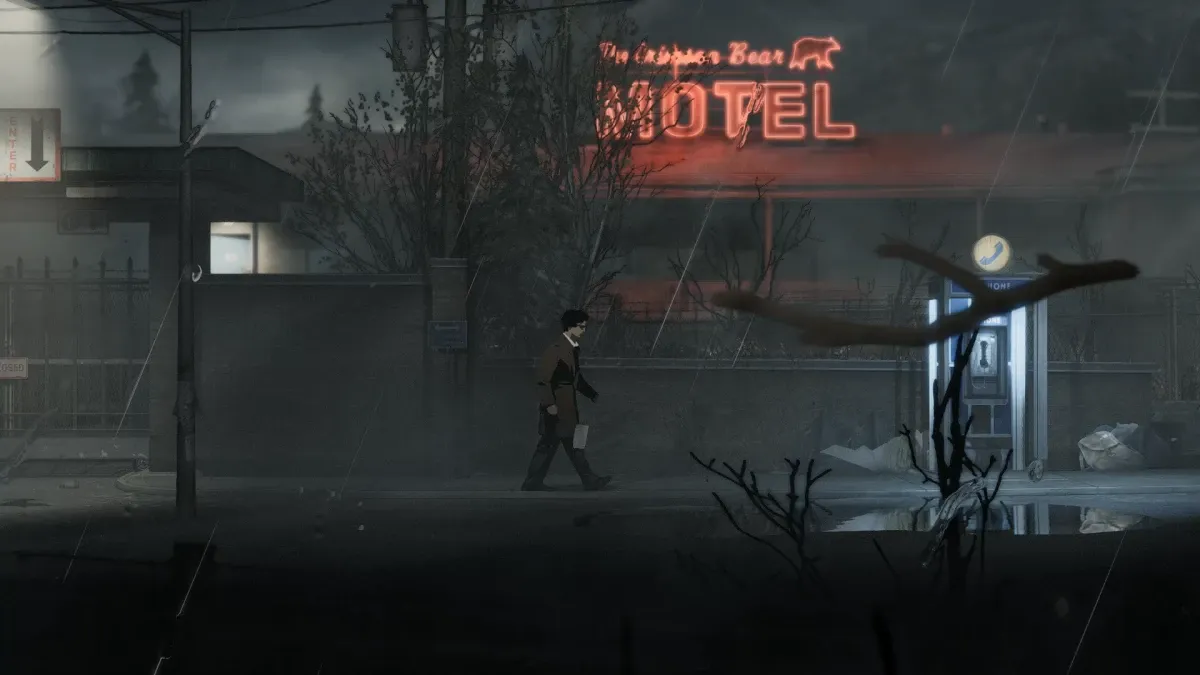
The Crimson Bear Motel is the opening’s centerpiece — the largest interior, the case’s first real evidence, and the building that teaches most of the game’s systems. In the launch build it also hides late-game reasons to come back.
Why does the motel matter?
Eddie Velvet stayed here — and the trail still runs through it. The entrance gate code is different on every save: read the Motel Guest Ledger in the office to learn yours (it’s the one randomized lock in the game, per the developer). Everything else inside is the game teaching you how Silver Pines works.
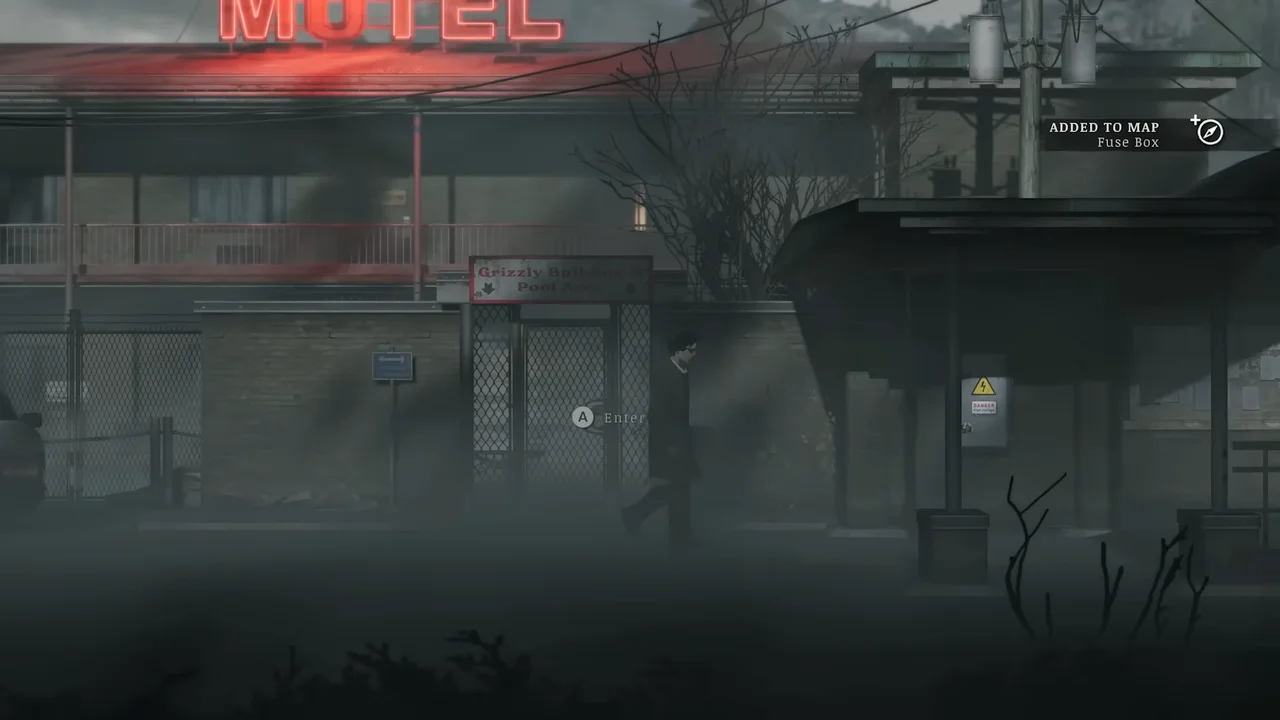
What’s the layout?
- The office — the Guest Ledger (your gate code) and the phones.
- The Grizzly Suite — keycard-locked; the Velvet registration, the Snub .38, and the guest-book that feeds the “Call me…” achievement (phone Room 3).
- The shooting gallery — win it for the Poolside Key.
- The pool and locker rooms — fish the Door Knob from the pool drain, clean it, open the palm-tree door.
- The game room — a hip bag and the breaker that takes an Electrical Fuse.
- The Gift Shop — the weapon locker, code 6671, holding the W-500 shotgun; the same code opens Bungalo 3 outside (which hides a Star — see endings).
- The basement — behind the Rabbit Hole, the Ferry Office Key on the table.
- Room 3 (Bungalo 3) — key on the lighthouse top, code 6671 — holds a Star for the Rest ending.
What lives in the motel?
The corridors aren’t empty — creatures move through the building, and cleared rooms can repopulate, which turns every lock-and-key search into a risk decision. Never stand in a motel hallway entering a keypad code while something is in the room with you — the world doesn’t pause. See all monsters.
What’s the route through it?
The full walkthrough covers the critical path; the puzzle solutions page has every code. The short version: ledger → keycard → Grizzly Suite → shooting gallery → pool → palm-tree door → Rabbit Hole → basement key → phone it in → the tunnel.
Gallery
Image: © Wych Elm / Team17, via official press kit & IGN gameplay footage
Image: © Wych Elm / Team17, via official press kit & IGN gameplay footage
Sources
This article was compiled with AI assistance and checked by the site operator against the sources linked on this page — it is not based on first-hand play. Last checked: 10/14/2026. Editorial policy
Related Articles
Silver Pines Walkthrough: Full Game Route, Area by Area
Complete Silver Pines walkthrough — diner to Thelend Broadcasting. The full route through all nine areas, every key item, five cable-car bells and the endgame.
Last checked Oct 14
Silver Pines Puzzle Solutions: Every Code and Lock
All 22 Silver Pines code locks and puzzle solutions — every keypad, safe, symbol lock and mechanism across the full game, with where each code is found in-game.
Last checked Oct 14
Silver Pines Downtown: Docks, Ship Boss and the Town Hub
Silver Pines Downtown guide — the ferry docks, the ship boss and hatch puzzle, the waterfront, Market Street sewers access, the caravan and what connects where.
Last checked Oct 14
Was this helpful?
Thanks for the feedback!